
Existing Kubernetes cluster
The existing cluster installation method is recommended if you already have a Kubernetes cluster running in production and would like to deploy Enterprise Server to it.
With Existing Kubernetes Cluster installation, you can install DeepSource Enterprise Server into an existing cluster with our pre-packaged kubectl plugins for licensing, configuration, and environment conformance testing.
Simple Installation
If you have an existing Kubernetes cluster you can run the following command from a workstation that has kubectl access to the cluster.
curl https://kots.io/install | bash
kubectl kots install deepsource-fowl/stable-v4 -n deepsource-application
This will install the KOTS (Kubernetes off-the-shelf software) plugin on the workstation, then install the DeepSource Enterprise Admin Console on the cluster and set up a port forward on the ClusterIP to enable you to access the admin from https://localhost:8800. From here you'll be walked through the preflight checks, configuration and initial deployment of the application.
If you need to use your existing deployment pipeline (i.e. version control system), make custom configuration tweaks and/or deploy to multiple or remote environments, please see our advanced existing cluster installation instructions below.
Ingress Controller
If you are installing to an existing cluster, we expect you to bring your own Ingress Controller. You will have to add the annotations to the Config section in the admin console under the Ingress Controller Annotations option.
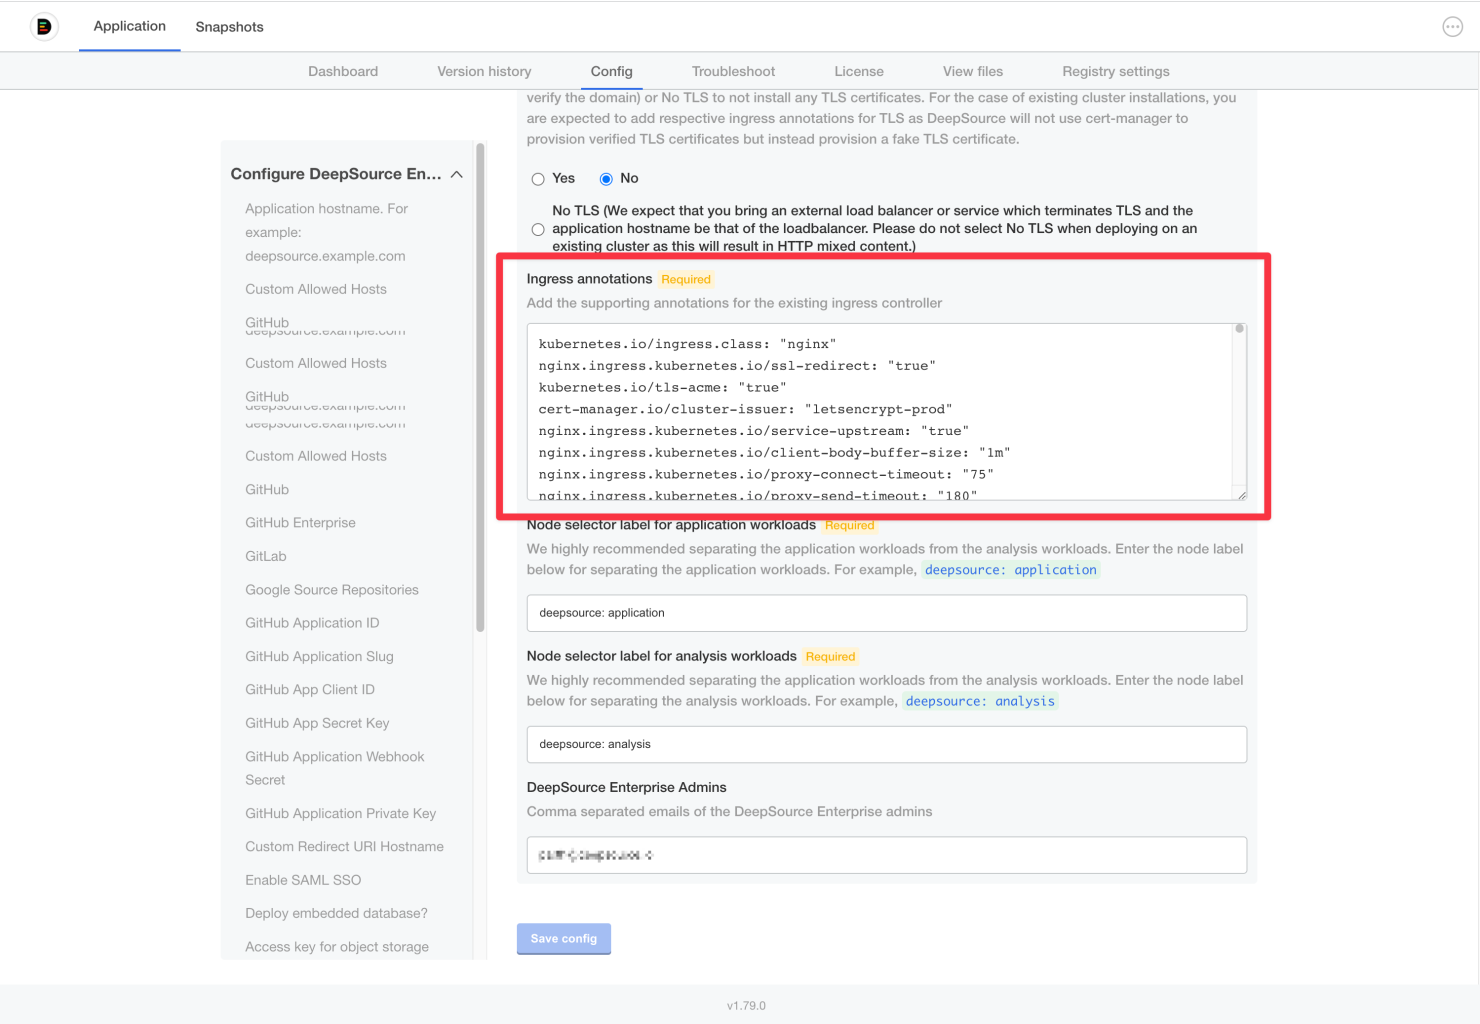
For the K8s NGINX Ingress Controller, a tested set of annotations are available at:
kubernetes.io/ingress.class: "nginx"
nginx.ingress.kubernetes.io/ssl-redirect: "true"
kubernetes.io/tls-acme: "true"
cert-manager.io/cluster-issuer: "<cluster-issuer>"
nginx.ingress.kubernetes.io/service-upstream: "true"
nginx.ingress.kubernetes.io/client-body-buffer-size: "1M"
nginx.ingress.kubernetes.io/proxy-connect-timeout: "75"
nginx.ingress.kubernetes.io/proxy-send-timeout: "180"
nginx.ingress.kubernetes.io/proxy-read-timeout: "300"
nginx.ingress.kubernetes.io/use-regex: "true"
nginx.ingress.kubernetes.io/server-snippet: |
	add_header X-Frame-Options "SAMEORIGIN";
	add_header Content-Security-Policy "frame-ancestors 'self' https://bitbucket.org;";
	proxy_set_header Host "<primary-host>";
	proxy_set_header X-Forwarded-Proto https;
	server_tokens off;
	proxy_intercept_errors on;
<deepsource-application-namespace>is the Kubernetes namespace where the application is installed, usuallydeepsourcein case of installing in an existing cluster with KOTS.
Advanced Installation
DeepSource Enterprise is packaged as a Kubernetes application that can run on any Kubernetes cluster that meets minimum requirements:
- Kubernetes v1.20.0 or later (although we recommend v1.30)
- A default storage class that can be used for relocatable storage
- A single namespace that all of the DeepSource Enterprise components will be deployed to
- A standard ingress controller that can be accessed by the clients sending error reports
To verify that your cluster meets the minimum requirements, you can run our preflight checks before installing. To run the preflight checks on your cluster, run:
curl https://krew.sh/preflight | bash
kubectl preflight https://enterprise-assets.deepsource.com/preflight.yaml
This will not run anything in your cluster, but will review your cluster version and resources and provide a summary to help you identify if the cluster meets the minimum or recommended requirements.
Considerations prior to installation
-
Ensure you have two node pools:
- One for application workloads. We recommend having 16 CPUs and 32 GB memory for your application workload node pool.
- One for analysis workloads. We recommend having 10 CPUs and 36 GB memory for your analysis workload node pool.
-
Ensure you have two namespaces created. One of the namespace will be used for deploying the application workloads and the other namespace (named as
deepsource-analysis) will be used for running analysis workloads. -
You will also need to add node selectors to both your node pools to ensure proper isolation of application workloads from analysis workloads.
View and apply kubernetes manifests
If you're unable or uncomfortable installing the admin console directly from KOTS, you can first pull the manifests that you'll be deploying and kubectl apply those manifests. By default, these manifests are delivered with an empty kustomization.yaml in case you need to make last mile configuration changes with kustomize.
curl https://kots.io/install | bash
kubectl kots pull deepsource-fowl --license-file ~/path/application-license.yaml
Edit configuration locally
Using your favorite editor open the file: ~/deepsource-fowl/upstream/userdata/config.yaml, make any changes you need and save it, and then rerun kots pull to apply those changes to the deployable YAML manifest.
kubectl kots pull `deepsource-fowl` --license-file ~/path/license.yamlThe output should look like this:
Kubernetes application files created in ~/deepsource-fowlApply the files to the cluster
kubectl apply -k ~/deepsource-fowl/overlays/midstream