Creating an application link on Bitbucket Data Center
-
Register a new Application Link in your Bitbucket Data Center instance. For example, if your instance is running on
https://bitbucket.stark.com, then this settings page will be located athttps://bitbucket.stark.com/plugins/servlet/applinks/listApplicationLinks. -
You’d be prompted to fill out a form to create a new application. Enter the following details:
Replace
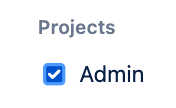
ORGANIZATION_NAMEwith the name of your organization, andHOSTNAMEwith the actual hostname on which DeepSource Enterprise instance is deployed.Field Value Example Name DeepSource ORGANIZATION_NAMEDeepSource Stark International Redirect URL https:// HOSTNAME/accounts/bitbucket_datacenter_oauth2/login/callback/bifrosthttps://deepsource.stark.com/accounts/bitbucket_datacenter_oauth2/login/callback/bifrost/Application permissions Check the ADMINbox underPROJECTS
Why do we require PROJECT_ADMIN permission?DeepSource Enterprise uses the OAuth2 token obtained from this application to perform all API and git operations on your Bitbucket Data Center instance. Admin permissions are required at the project level to register webhooks to listen for project and repository level events.
- Click on “Save changes”.
- On the next page, You will get the
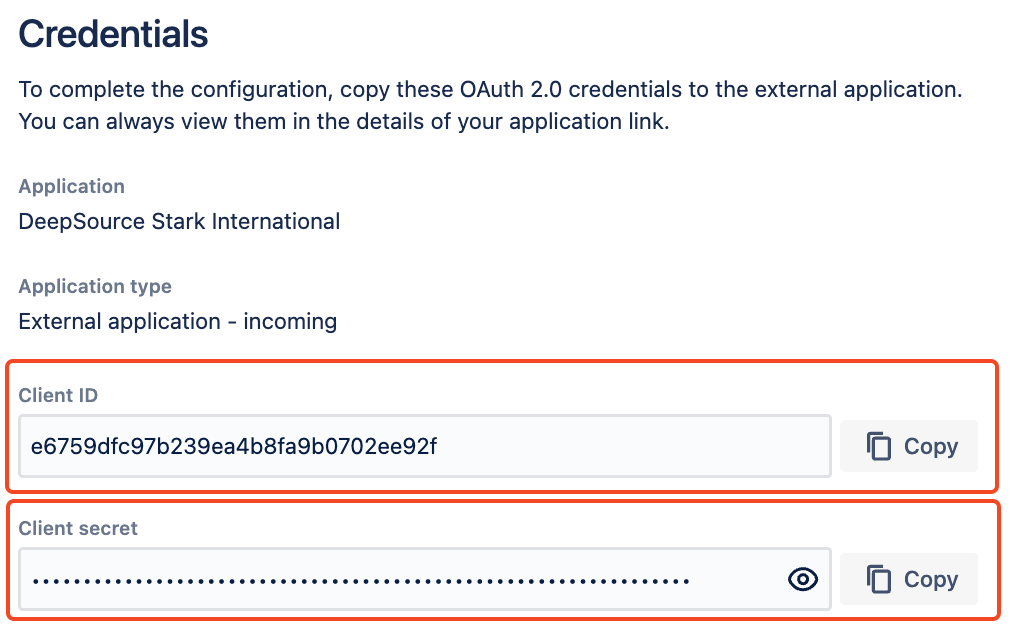
Client IDandClient Secret. Enter these values in the DeepSource Enterprise admin console.

Configuration in the DeepSource Admin Console
After you have created your Bitbucket Data Center application, you need to configure it in the DeepSource Admin Console.- Visit the Admin Console
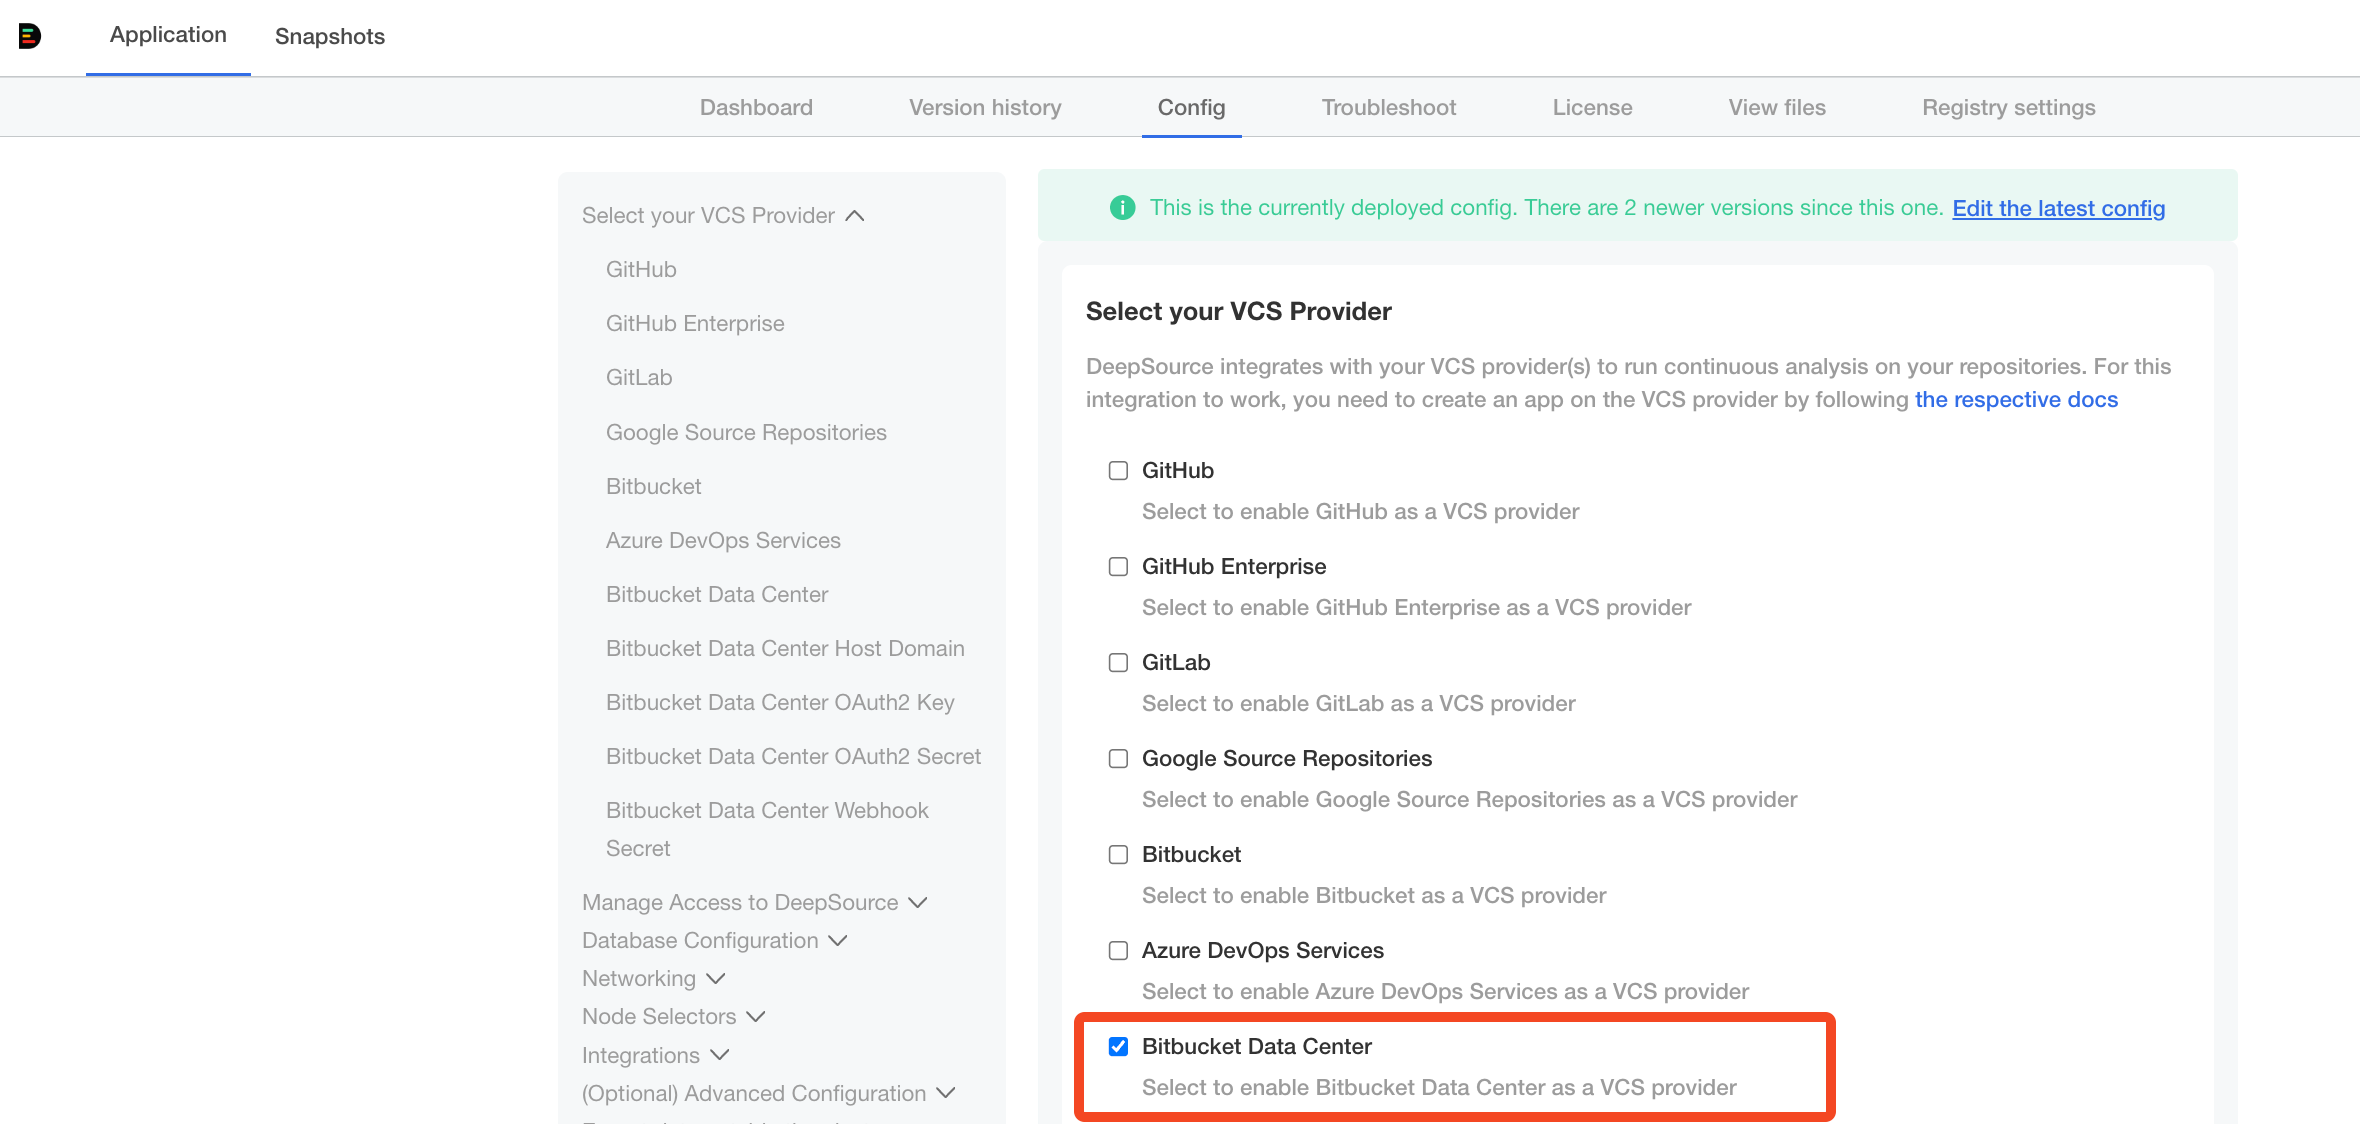
- Navigate to Application -> Config.
- Select the checkbox for Bitbucket Data Center.

-
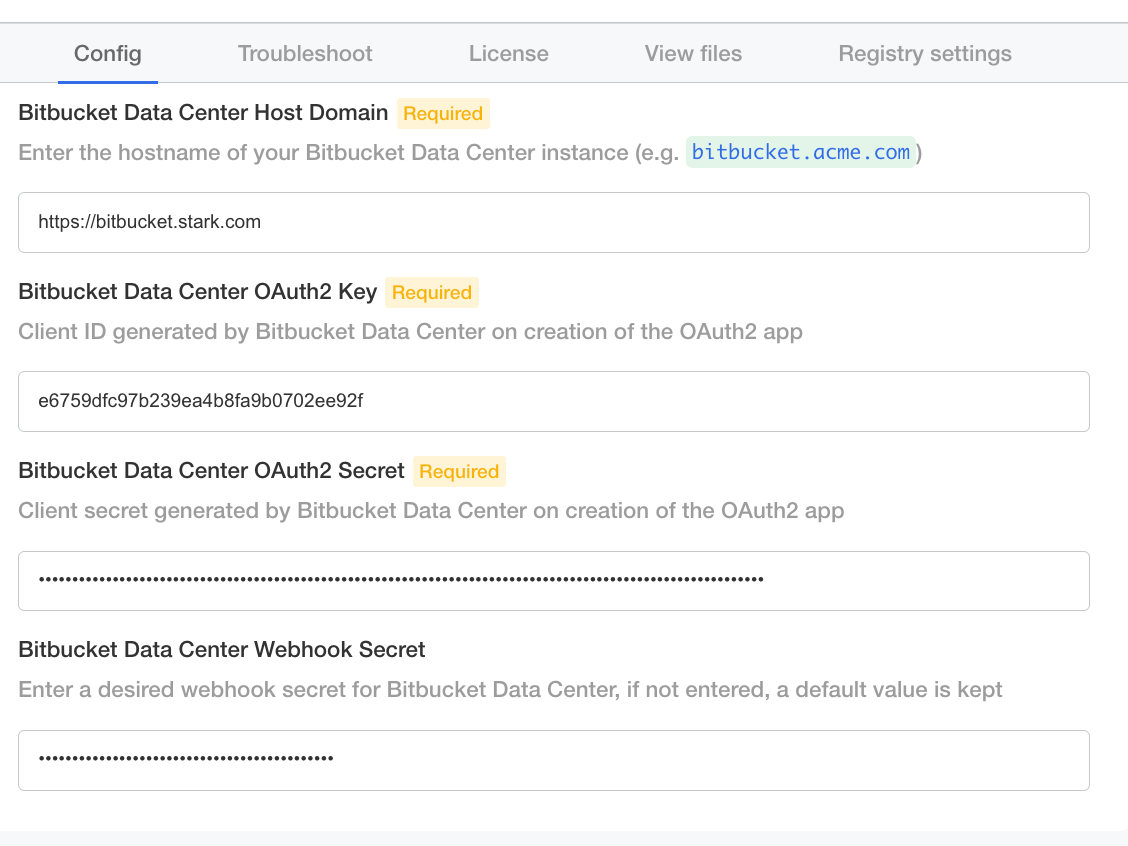
Fill in the values for the following fields as explained in each field’s subtext:
- Bitbucket Data Center Host HTTP Scheme
- Bitbucket Data Center Host Domain
- Bitbucket Data Center OAuth2 Key
- Bitbucket Data Center OAuth2 Secret
- Bitbucket Data Center Webhook Secret

- Click “Save config”.
- Deploy the new release with the updated config using the “Version history” tab.