
Account types
DeepSource supports individual and team accounts from different VCS providers.
DeepSource supports two types of accounts that you can manage from the dashboard.
Individual accounts
An individual or personal account is tied to a personal GitHub, GitLab, Bitbucket, or Azure DevOps Services account. It gives you access to your personal repositories.
To access Team plan features, see Migrate to a team account.
Team accounts
A team account is tied to a GitHub organization, GitLab group, or Bitbucket workspace. Team accounts let you collaborate with other members and manage repositories owned by the organization.
Managing workspaces
You can add and switch between multiple accounts from different VCS providers using the Workspaces section in your User Settings.
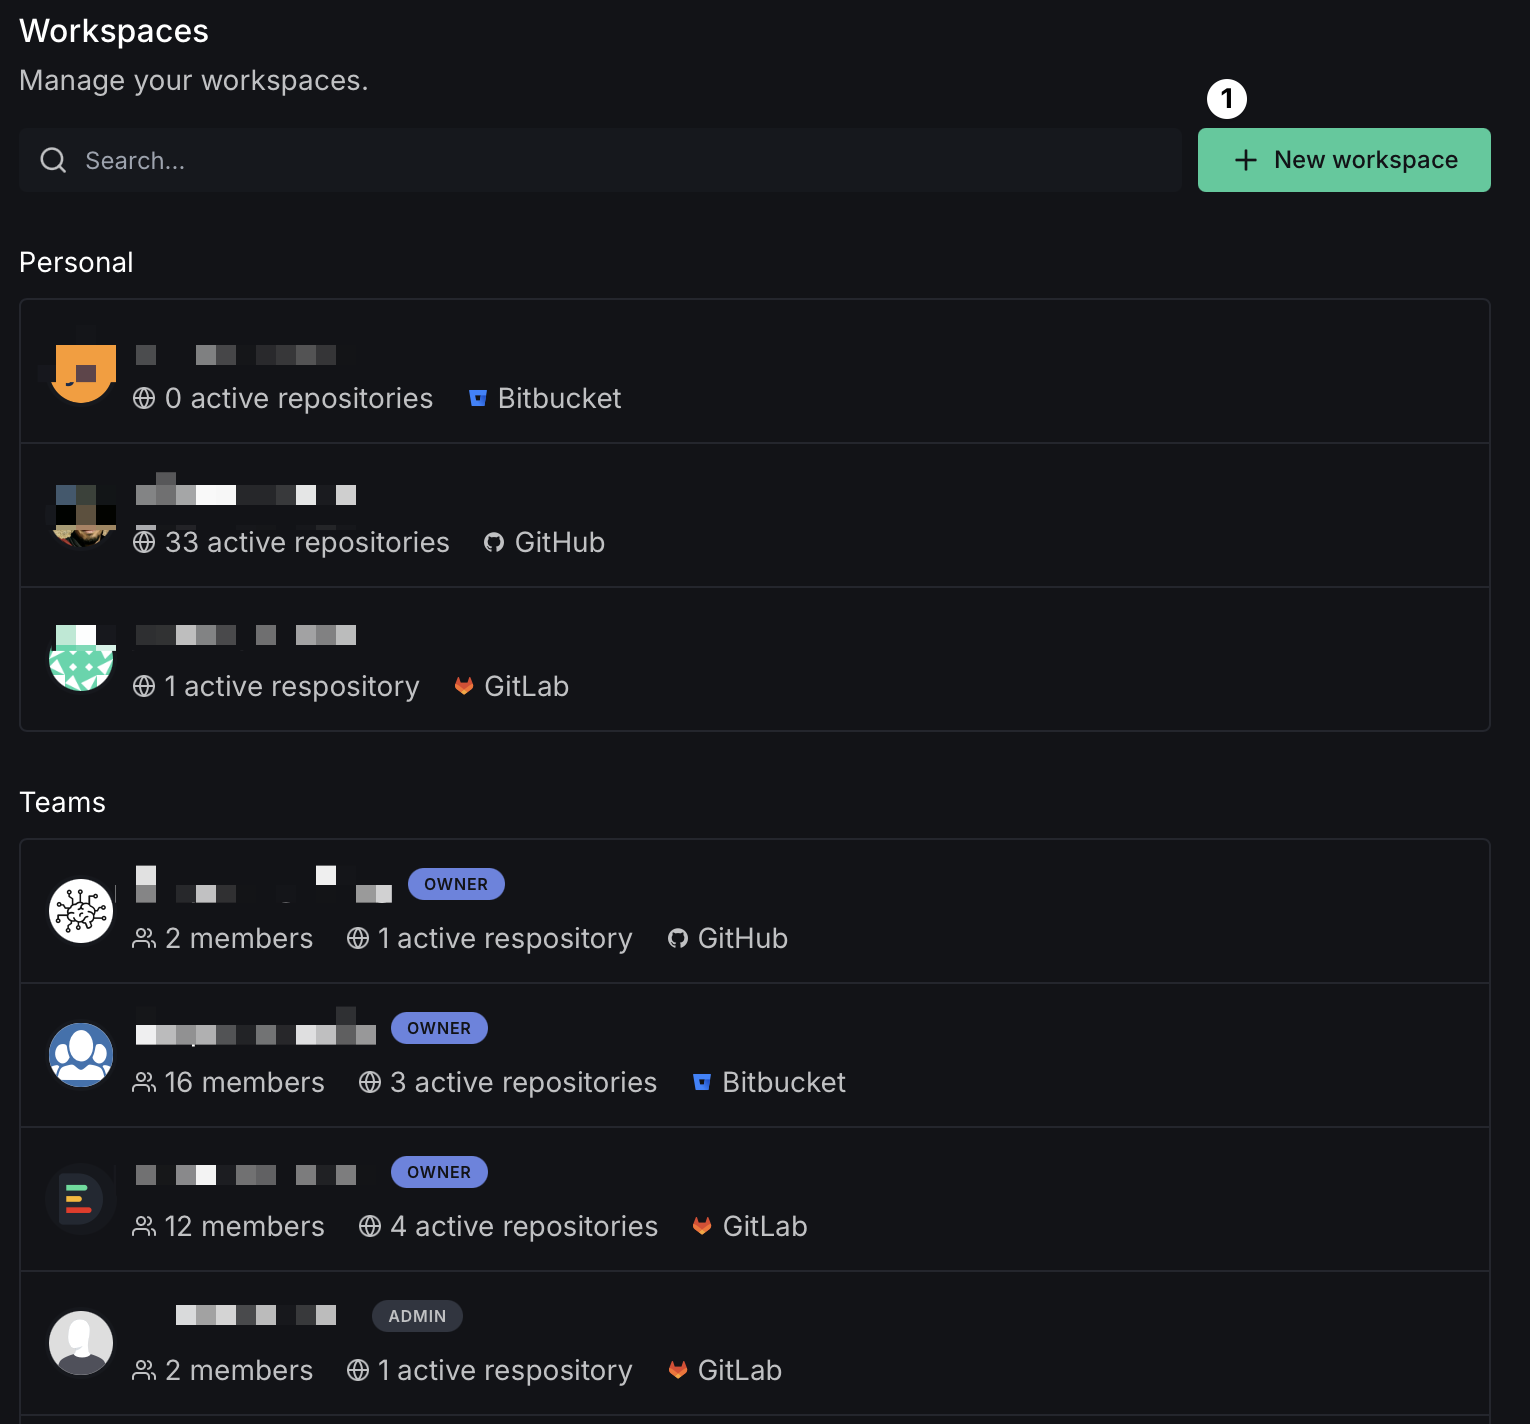
Click New Workspace to connect a new team account or personal account from any supported VCS provider.
Signing out
Click your username and select Sign out.