
Quickstart
See what DeepSource finds in your code
Sign up, connect a repository, and pick a pull request. DeepSource runs a full review and shows you bugs, security issues, and anti-patterns in your code.
You'll need a GitHub, GitLab, Bitbucket, or Azure DevOps account with at least one repository to get started.
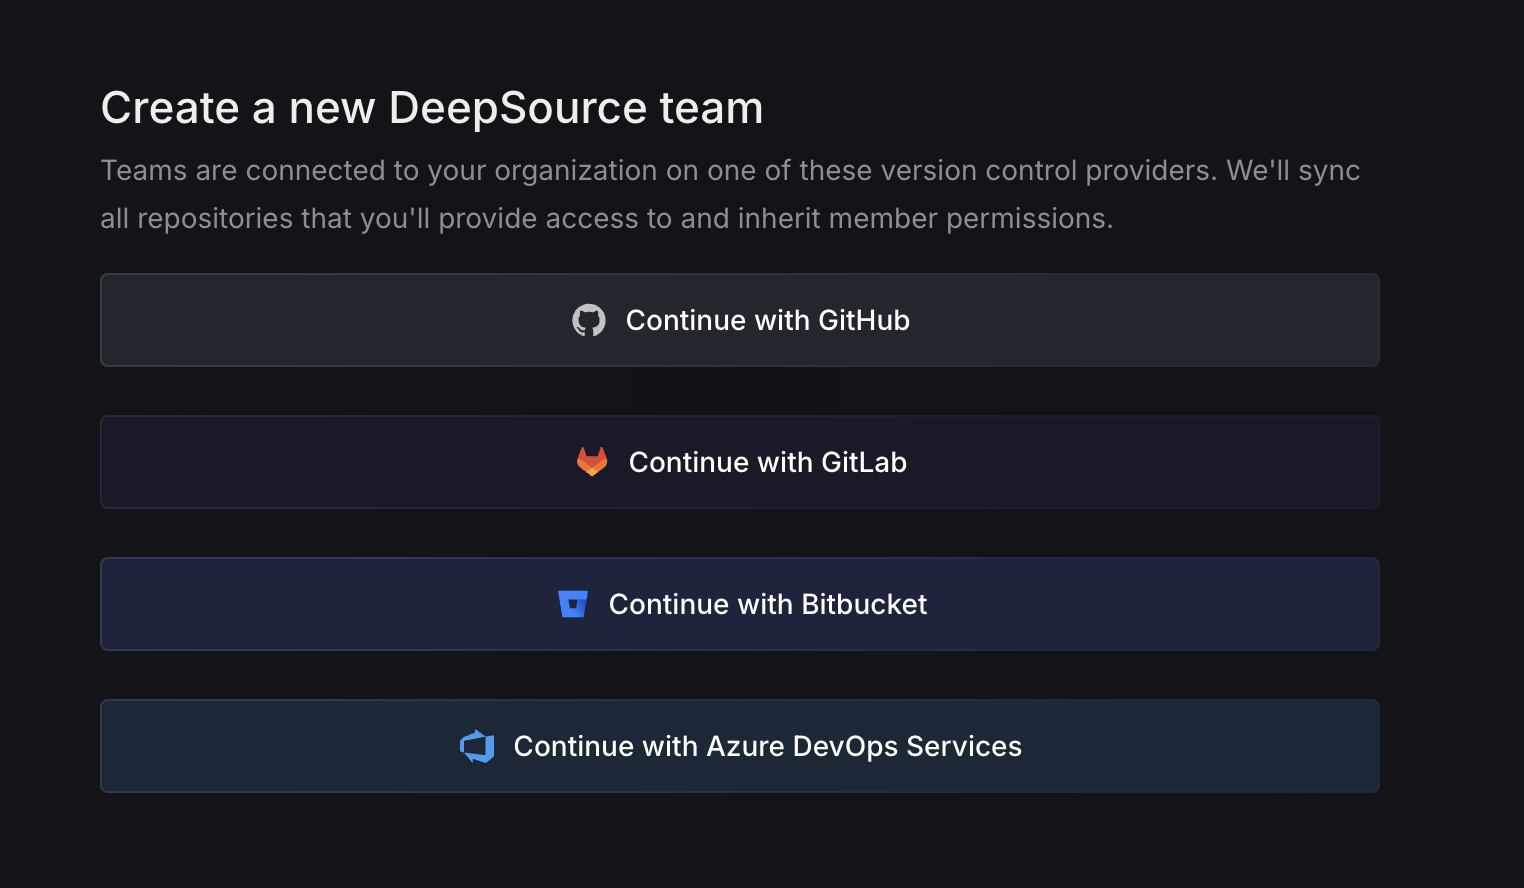
Create a new DeepSource team
Head to deepsource.com and sign up. Pick the version control provider where your code lives — GitHub, GitLab, Bitbucket, or Azure DevOps — and authorize DeepSource to access your repositories.
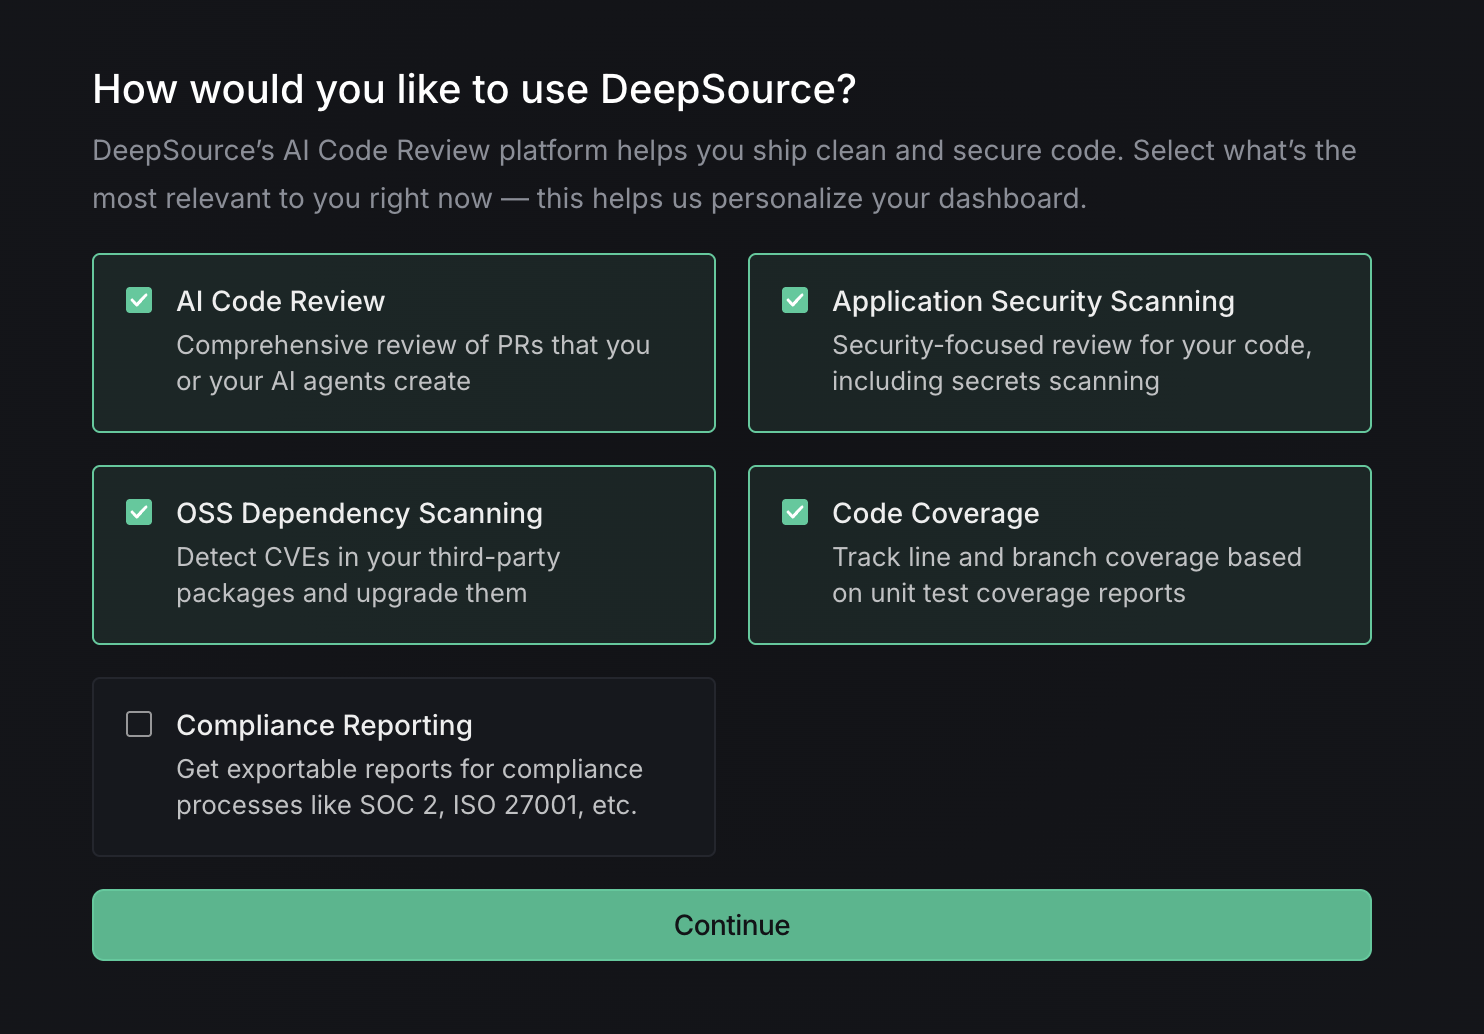
Choose how you want to use DeepSource
Select the features most relevant to your workflow — code review, security scanning, coverage tracking, and more. Don't worry, you can always change these later from Settings.
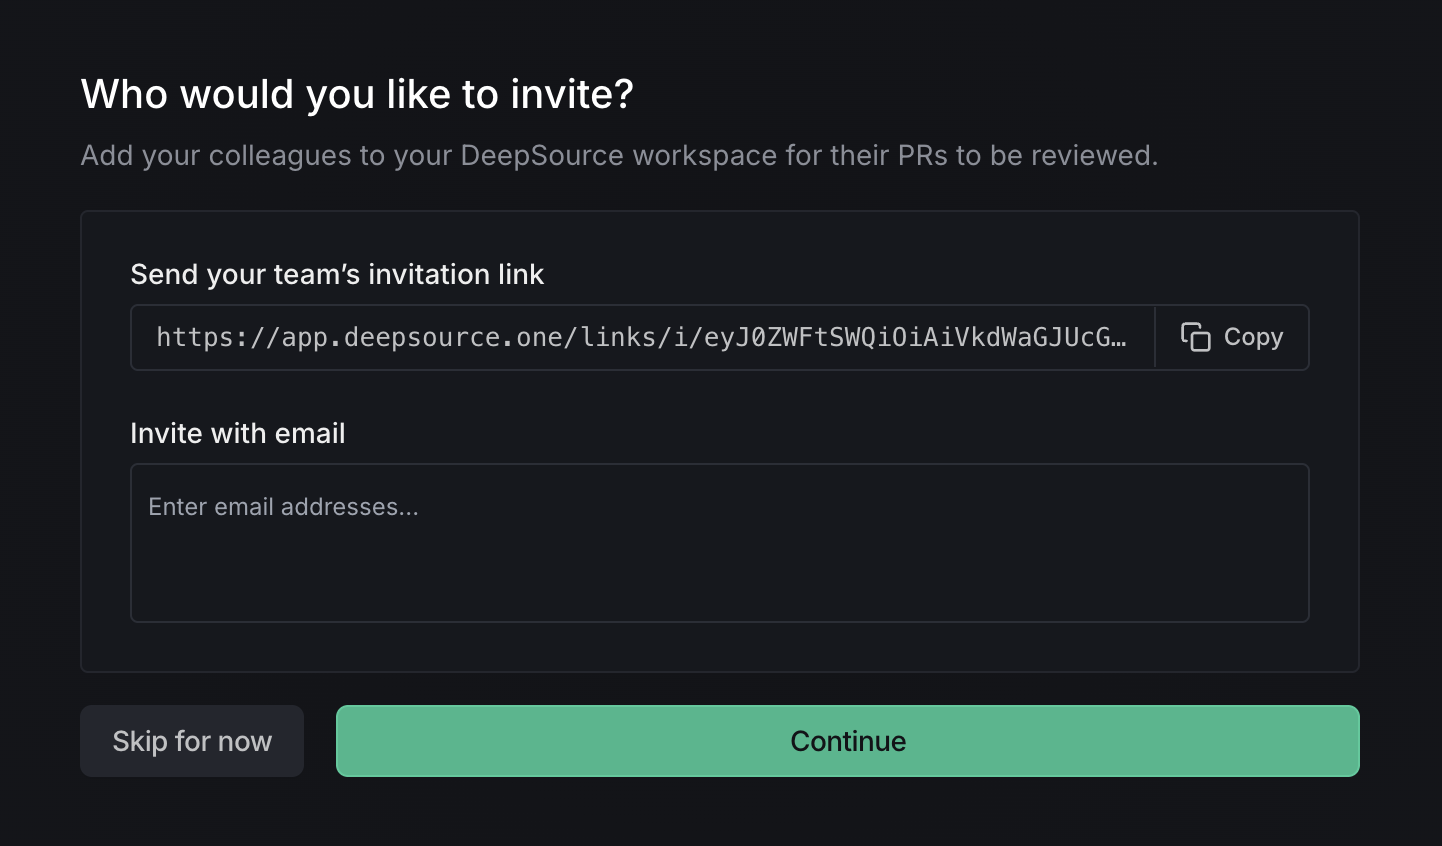
Invite your team
Share an invite link or add team members by email. You can also skip this step and invite users later.
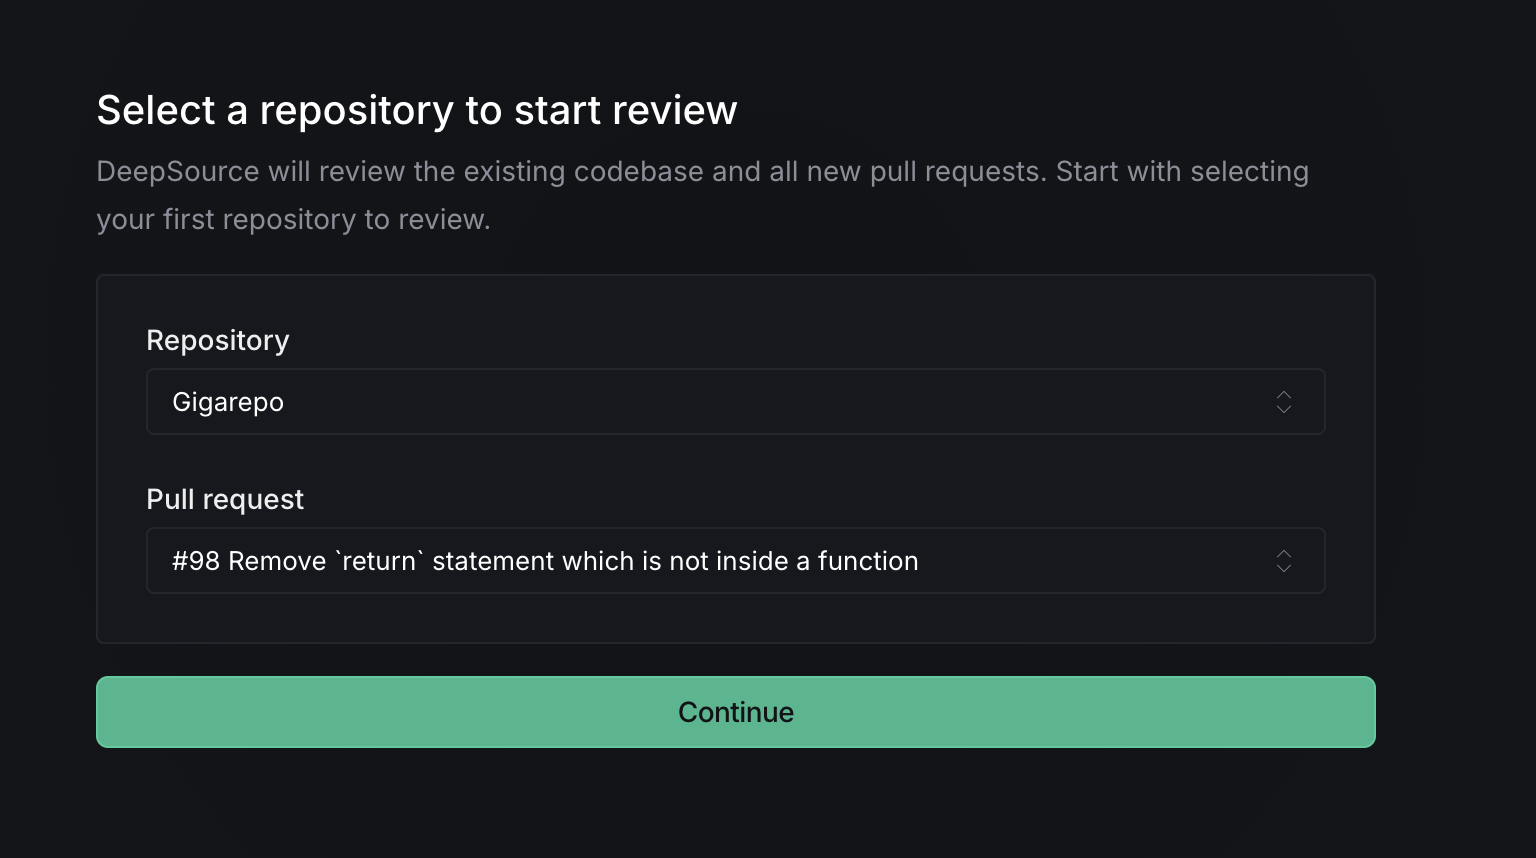
Select a repository and pull request
Pick the repository you want to run your first review on, and select an open pull request.
Confirm analyzers
DeepSource auto-detects the languages in your repository and suggests the right analyzers. You can add or remove analyzers as needed. See the full list of supported analyzers.

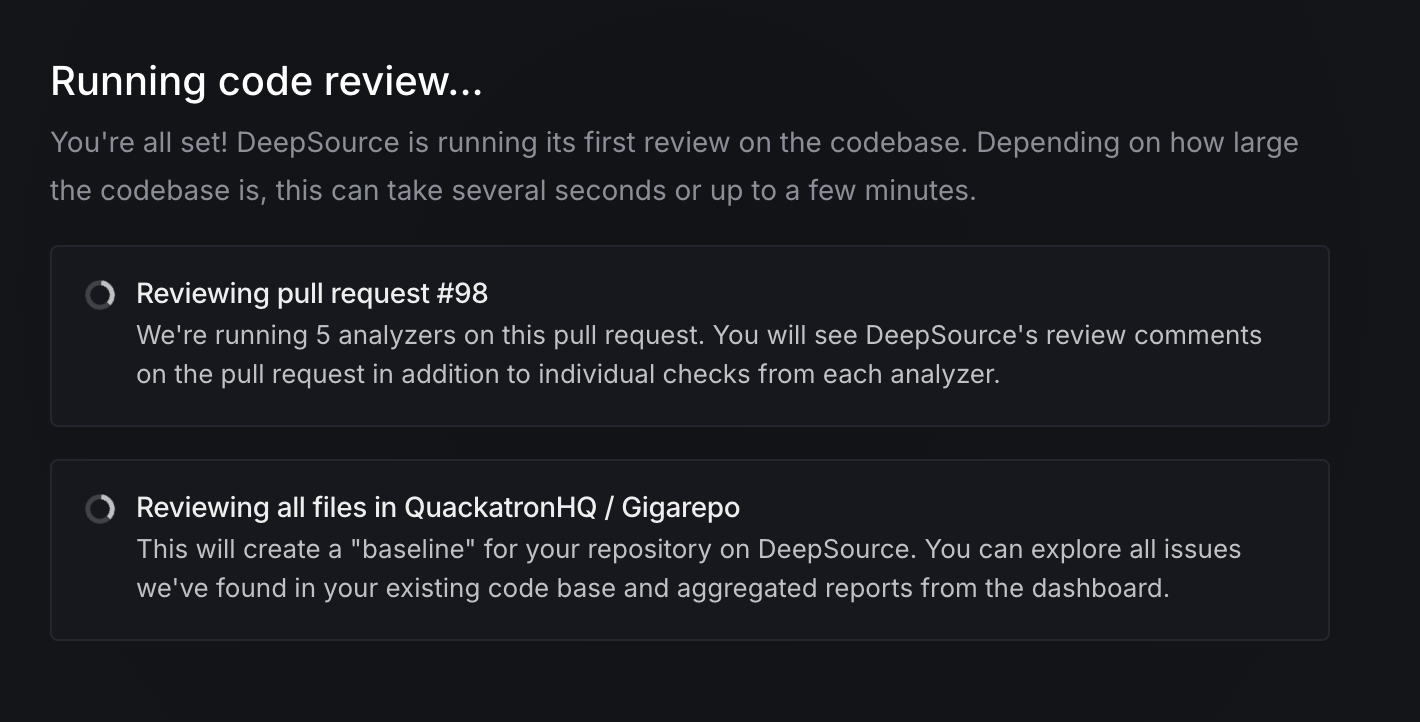
Wait for the review
DeepSource runs its analysis on your pull request and creates a baseline for the repository. This usually takes a minute or two depending on the size of your codebase.
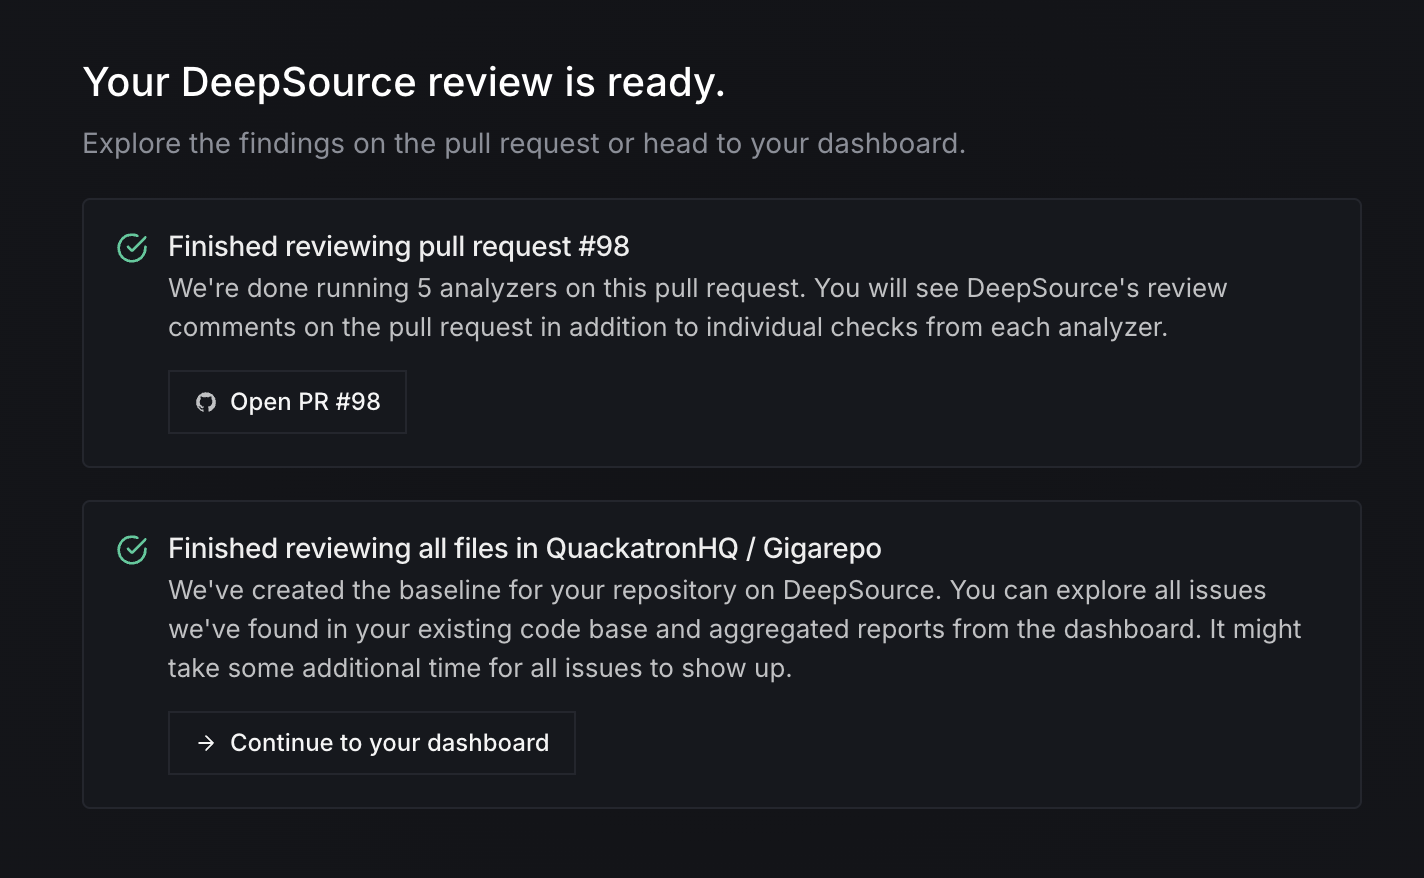
Review your results
Once the review is complete, you can check the comments directly on your pull request, or head to the DeepSource dashboard to see a full breakdown of issues, metrics, and recommendations.
Next steps
Now that your first review is done, here's what you can do next:
- Configure analyzers to fine-tune how DeepSource reviews your code
- Enable code formatters to auto-format pull requests
- Track code coverage to track which parts of your code are tested
- Scan for vulnerabilities to find vulnerabilities in your dependencies
- Enforce license compliance to enforce open-source license policies across your team
- Fix issues detected by DeepSource, manually or with Autofix™